Setting Reputation Based Protection using Intune
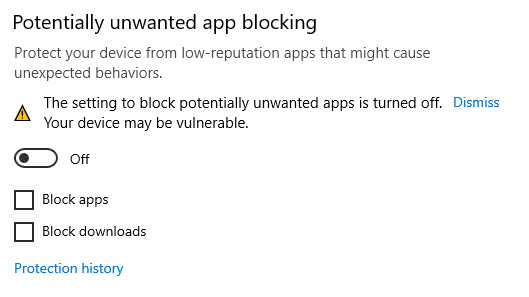
Quick blog on resloving the turn on reputation based protection alert in Windows Defender when using Intune.
This is becuase the default is off for PAU.
To manage this via Intune we need to do the following.
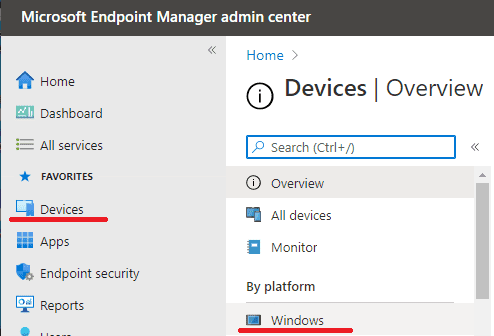
1). head over to the endpoint portal
2). From here you need to go to Devices and Windows
After that you need to click on Configuration Profiles
Now due to the way the Reputation Based Portection works we will need to create two policys to enable it.
3). click Create Profile selct Windows 10 as the platform and in Profile type select Templates from the Templates Name select Device restrictions
4). In the first screen we need to give it a Name and Description click Next
5). In the next screen we need to go down to the Microsoft Defender Antivirus section and then scroll down till you see Detect potentially unwanted applicstions and select enable.
Click Next when done.
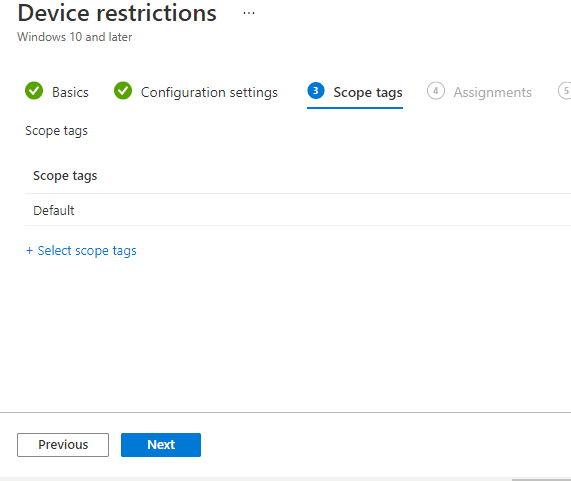
6). Select any scopes you want for and click Next
7). Select any Assignments you want for and click Next
8). Depending on your estate you may wish to add Device Restrictions depening your devices in AAD and click Next
9). At the summary screen make sure all is correct and click Create
You have now blocked apps But wait there is more to enable block downloads you need crate another configurtion profile
1). click Create Profile selct Windows 10 as the platform and in Profile type select Templates from the Templates Name select Administrative Templates
2). In the first screen we need to give it a Name and Description click Next
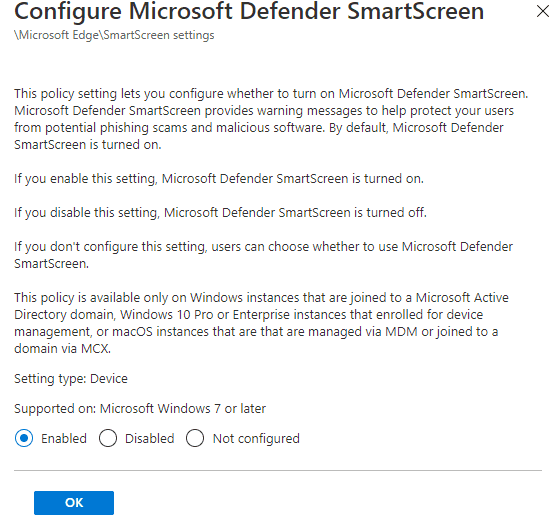
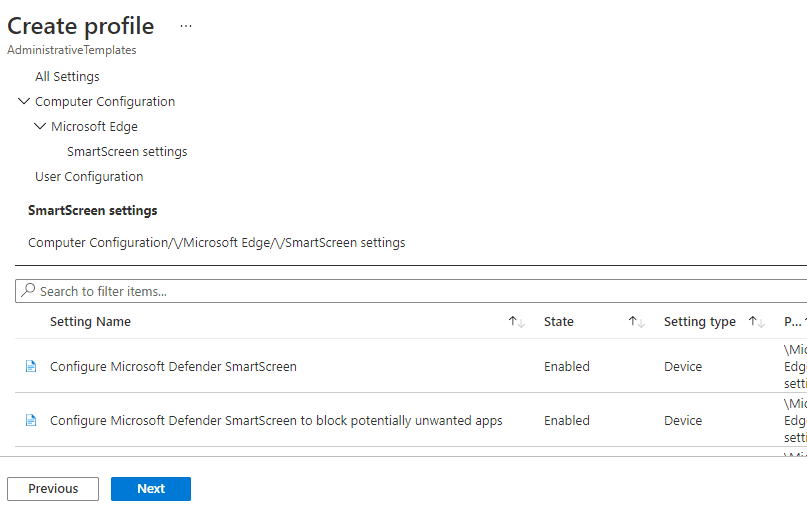
3). In the next screen we need to go down to the Microsoft Edge section and then scroll down till you see SamrtScreen
4). Left click on "Configure Microsoft Defender SmartScreen" and select Enabled and Ok
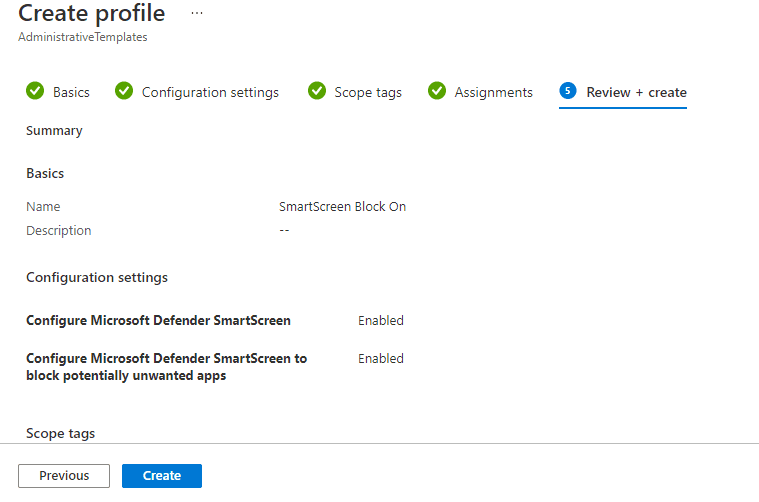
5). Do the same for "Confgiure Microsoft Defender SmartScreen to block potentially unwanted apps" so both options are enabled and click Next
6). Select any scopes you want for and click Next
7). Select any Assignments you want for deployment and click Next ... Note they should be the same Assignments you set for the device restrictions.
8). At the summary screen make sure all is correct and click Create
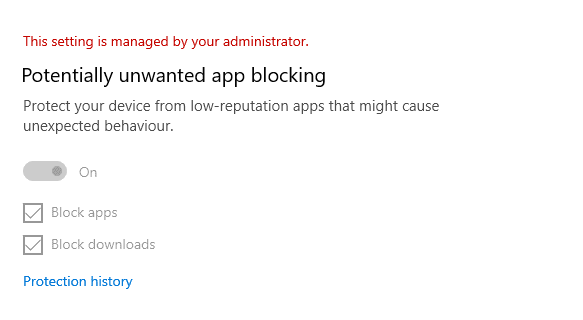
You have now created both part of the potentially unwanted app blocking - Apps and Downloads - And you should start to see the following on devices you assigned both policys to.

